Creating a blog header
By default your blog doesnt have an image header.All that the header shows is your Blog title and the Blog Description.If you want to add style to your blog you can add image headers.There are two things you could do
1.Upload an already existing image in your system.
2. Create a Header Image of your own using any photo editing software.
Here I used Picasa 3 to create a picture collage.Thanks to the blog Clover Lane.She has given a detailed description of how to make a picture collage.You can find the link to her site here.
Once your picture collage is ready, its time now to upload to your blog.
UPLOADING THE HEADER IMAGE
Go to your dashboard, select Layout.
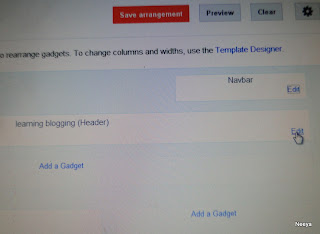
Click Edit button under the Header area.You will be taken to the Configure Header window.
Before selecting your image from your system, dont forget to ensure that the Shrink to Fit option is left unchecked.Once it is unchecked, you can click the browse button and selct the image to be uploaded.
You can have your image placed behind the blog title and description, or it can be placed instead of blog title and blog description,or you can have your blog description(and blog description alone) placed after the image.
Click Save.
Its Done. Now you can view your blog.It has a much better personalized header now.


No comments:
Post a Comment